Introduction
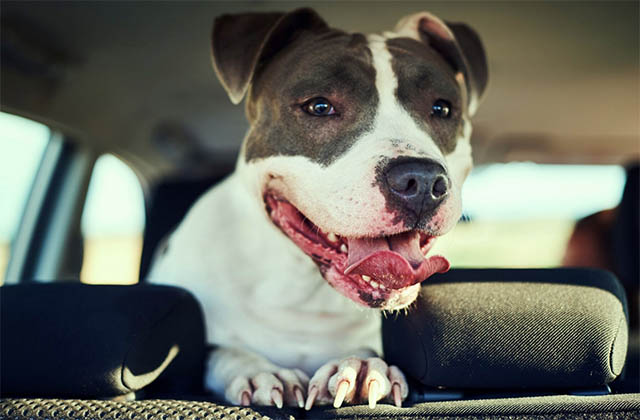
Take your dog with you on road trips and ride-sharing with other dogs. DIY dog carriers are simple to install, and they make traveling with your pet much safer and more enjoyable. Here’s how to build one yourself!
How To Install a Dog Carrier In Your Car
Before you get started, make sure that your car is safe for your dog. This means checking the following:
- Does the car have seat belts? If not, you should consider a different vehicle.
- Can you easily reach all of the controls including the windows and air conditioner?
- Do you have ample room for your dog to move around in the backseat if needed?
It pays to be prepared when you’re taking your dog on a road trip or ride-sharing with other dogs. DIY dog carriers are simple to install, and they make traveling with your pet much safer and more enjoyable. Here’s how to build one yourself!
Building your own DIY dog carrier is a great way to ensure that your pet is always safe and comfortable when you’re on the road. For added safety, it’s also important that you install the carrier properly.
Below, we’ll go over what tools and materials are needed for making your own DIY dog carrier, as well as how to install it in your car.
Conclusion
The most important thing to remember when you’re building a DIY dog carrier is that it’s supposed to be safe for your pet. So make sure to use materials that are strong and durable enough for long-term use, like wood that’s been pressure-treated with chemicals (like those used for decks and fences). You might also want to consider using plywood instead of particleboard or MDF because it’s stronger than either material alone.